How Does a Slicker Brush Work? Dog Grooming Guide
Quick Answer
A slicker brush works by using many fine, angled wire pins to move through a dog’s coat, separate the hairs, and catch loose fur. It can also loosen small tangles and light mats when used gently. The American Kennel Club’s dog brush guide recommends slickers for several medium, long, wire, and curly coat types.
How a slicker brush works
- Separates hairs: Closely spaced pins move between individual hairs instead of only smoothing the surface.
- Catches loose fur: Detached hairs become trapped between the fine pins and lift away with each stroke.
- Loosens tangles: Short controlled strokes can gradually separate minor knots without pulling the whole coat at once.
- Reaches deeper: Longer-pin slickers can reach farther into dense or curly coats than many basic brushes.
- Fluffs the coat: The pins lift and separate hair, which can create a fuller finish after grooming.
The most important rule
- Use light pressure and stop if the pins scrape the skin or your dog shows discomfort.
A slicker brush looks simple, but the angle and density of its pins make it different from an ordinary hairbrush.
I’ve found that understanding what the pins are doing makes grooming much easier. It also helps prevent the common mistake of pressing harder when a tangle refuses to move.


What Is a Slicker Brush?
A slicker brush is a dog grooming brush with a flat or curved head covered by fine metal pins. Those pins are usually bent or angled so they can move through the coat and collect loose hair.
The design works especially well when hair needs separating rather than simply smoothing. That’s why slickers appear so often in grooming kits for long, curly, medium, and dense coats.
- Brush head: Holds dozens or hundreds of closely spaced wire pins.
- Angled pins: Help move through hair and capture loose coat.
- Cushioned pad: Allows some pin movement on many better-quality brushes.
- Handle: Gives you control over pressure and stroke direction.
- Pin length: Determines how deeply the brush can reach into longer coats.
Some modern slickers also have retractable pins. Pressing a button pulls the pins inward so collected hair can slide off the brush head.
How Does a Slicker Brush Actually Remove Loose Hair?
A slicker removes loose hair because its fine pins pass between attached hairs and catch strands that have already loosened. Those hairs then come away when you lift the brush.
Think of the pins as many tiny separators working together. They don’t need to cut healthy hair to remove fur that is ready to leave the coat.
The pins separate the coat
Each pass opens small spaces between neighboring hairs. This lets the pins reach loose strands that may be hidden below the visible surface.
That matters on dense coats. A dog can look smooth from above while loose hair remains packed underneath.
The angled wires catch detached hair
Loose fur bends around the narrow pins instead of staying flat against the body. As you finish the stroke, the brush carries that hair outward.
This is why the brush head can fill quickly during shedding season. It needs regular cleaning to keep working efficiently.
The brush can separate small tangles
A small tangle contains hairs crossing and twisting around one another. Short slicker strokes can separate those hairs little by little.
Don’t try to rip through resistance. Hold longer hair near the base when appropriate and work from the outer edge of the tangle inward.
Does a Slicker Brush Touch the Dog’s Skin?
A slicker may reach close to the skin, but you shouldn’t deliberately scrape the skin with the metal pins. The goal is to brush the hair while using enough depth to reach through the coat.
The distinction matters. Fine wire pins can irritate skin when excessive pressure turns normal brushing into repeated scratching.
- Use light pressure: Let the pins enter the coat instead of forcing them downward.
- Use short strokes: Controlled strokes give you better feedback when the brush catches.
- Watch the skin: Stop if you notice redness or obvious irritation.
- Watch your dog: Flinching, turning, sitting, or trying to leave can signal discomfort.
- Avoid sore areas: Don’t brush across cuts, inflamed skin, or unexplained bumps.
The AKC’s home grooming guidance also recommends gentle brushing and checking for skin or coat problems while you work.
How Do You Use a Slicker Brush Correctly?
 Save
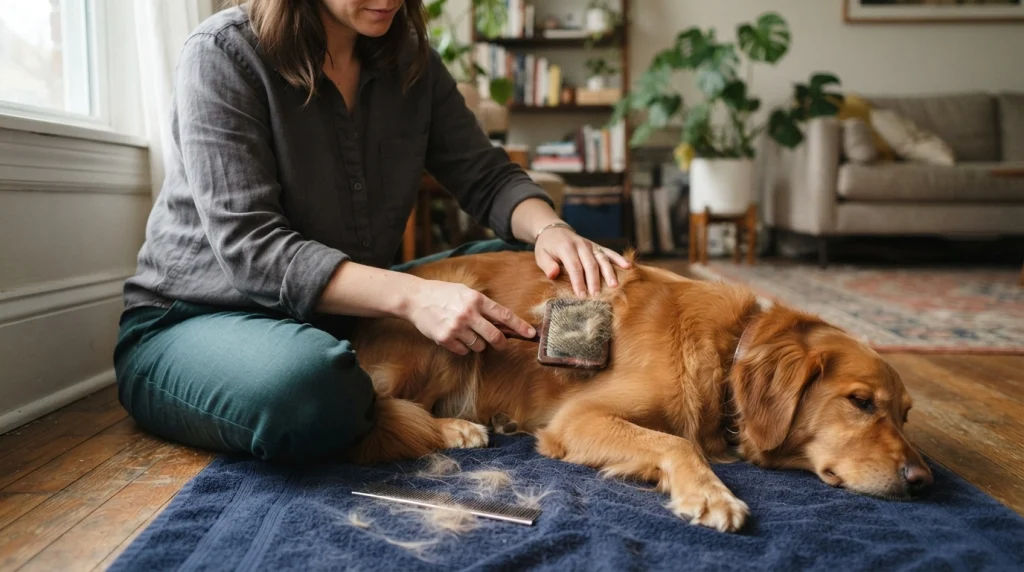
SaveUse a slicker in small sections with light, controlled strokes. Brush enough hair at one time that the pins can move through it without dragging hard against the skin.
I prefer section-by-section grooming instead of repeatedly sweeping the entire back. It tells me much more about what’s happening below the surface.
- Inspect the coat first. Look for mats, burrs, sores, moisture, or tender spots before starting.
- Part a small section. Use your free hand to expose a manageable layer of hair.
- Brush with light pressure. Move through the hair using short strokes rather than digging toward the skin.
- Work with the coat. Follow the natural direction of growth for routine brushing.
- Clear the brush often. Remove collected fur once the pins begin filling.
- Check your progress. A metal comb can reveal tangles that the slicker missed.
- Stop before irritation starts. You don’t need to remove every possible loose hair in one session.
On my own grooming passes, the biggest improvement comes from reducing the amount of coat I tackle per stroke. Smaller sections usually mean less pulling.
Slicker Brush vs Pin Brush vs Undercoat Rake: What’s the Difference?
 Save
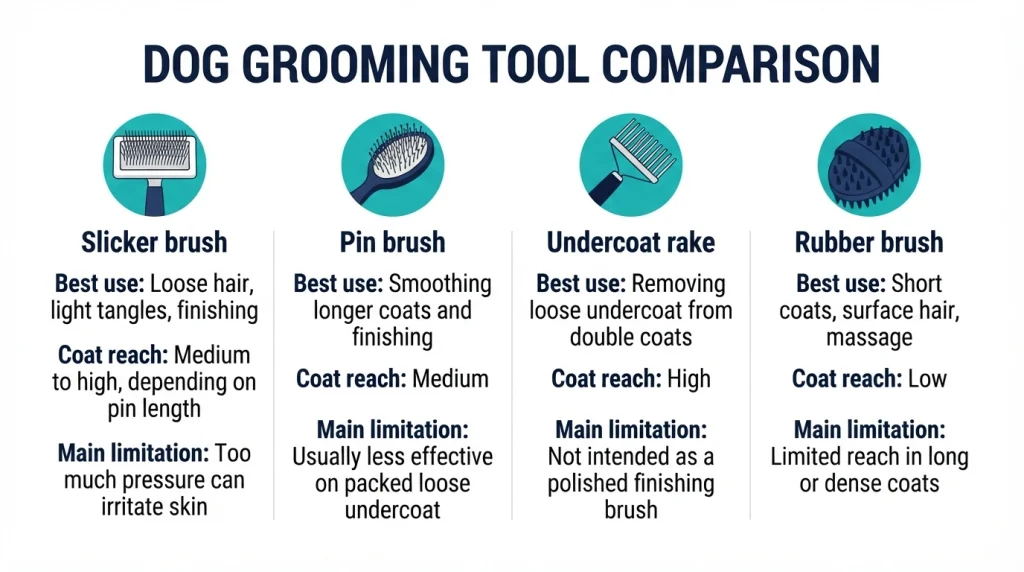
SaveA slicker is strongest at separating hair, collecting loose coat, and handling light tangles. Pin brushes, undercoat rakes, and rubber brushes perform different jobs.
| Tool | Best Use | Coat Reach | Main Limitation |
|---|---|---|---|
| Slicker brush | Loose hair, light tangles, finishing | Medium to high, depending on pin length | Too much pressure can irritate skin |
| Pin brush | Smoothing longer coats and finishing | Medium | Usually less effective on packed loose undercoat |
| Undercoat rake | Removing loose undercoat from double coats | High | Not intended as a polished finishing brush |
| Rubber brush | Short coats, surface hair, massage | Low | Limited reach in long or dense coats |
A thick double coat may need more than one tool. My guide to choosing a brush for a Husky explains why an undercoat rake and slicker often work better as a pair.
Which Dogs Benefit Most From a Slicker Brush?
Slickers are especially useful on dogs whose coats trap loose hair or form tangles. Coat texture matters more than simply choosing by dog size.
- Curly coats: Slickers help separate curls and find forming tangles.
- Long coats: Longer-pin models can reach through more hair.
- Dense coats: Slickers collect loosened hair after deeper undercoat work.
- Wire coats: A slicker can serve as part of a broader grooming routine.
- Moderate shedders: Fine pins capture loose coat before it lands around the house.
The American Kennel Club describes slicker brushes as useful for medium, long, wire, and curly coats. Tool size and pin length still need to match the individual dog.
For heavy double-coat shedding, don’t assume a slicker must do everything. Our guide to managing Siberian Husky shedding shows how deeper undercoat tools and a slicker can complement each other.
Can a Slicker Brush Remove Mats?
A slicker can help with small tangles and loose, early-stage mats. Tight, dense mats against the skin are a different problem.
Trying to force a slicker through severe matting can cause painful pulling. It can also encourage repeated brushing over the same sensitive patch.
- Small tangle: Work from the outer end toward the base using short strokes.
- Loose mat: Separate it with your fingers first when possible.
- Tight mat: Don’t repeatedly scrape it with the slicker.
- Skin-level mat: Consider professional grooming help.
- Painful area: Stop rather than trying to finish the job at home.
The AKC also advises patience when dealing with matted hair. Their dog grooming challenges guide recommends working carefully from the outside of a mat rather than attacking it aggressively.
How Hard Should You Press With a Slicker Brush?
Use only enough pressure for the pins to enter and move through the coat. More pressure does not automatically remove more hair.
One simple check is to test the brush lightly against your own forearm. You should understand quickly how sharp repeated pressure can feel.
My rule is simple: if the brush only works when I have to dig, I reconsider the pin length, coat section, or tool.
- Long dense coat: Consider longer pins rather than extra force.
- Heavy undercoat: Use an undercoat tool before finishing with the slicker.
- Persistent snag: Stop and inspect it instead of pulling harder.
- Sensitive dog: Use shorter sessions and a softer slicker when appropriate.
What Are the Most Common Slicker Brush Mistakes?
 Save
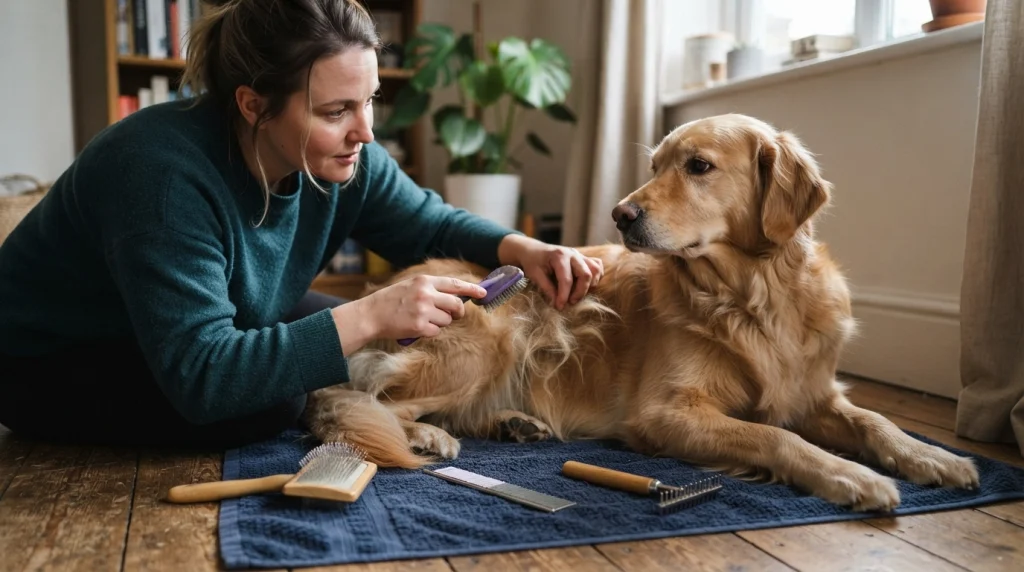
SaveMost slicker-brush problems come from pressure, repetition, or using the wrong brush for the coat. The brush should make grooming easier, not turn it into a battle.
- Pressing too hard: Fine pins can scratch or irritate skin.
- Brushing one area repeatedly: Friction builds even when each stroke feels mild.
- Using pins that are too short: The brush may skim over a dense coat instead of entering it.
- Pulling through mats: Resistance should trigger inspection, not extra force.
- Ignoring dog behavior: Grooming should stop when pain or distress becomes apparent.
- Using only one tool: Some double coats need a rake, comb, and slicker for different jobs.
As of 2026, slickers come in more pin lengths, head shapes, and self-cleaning designs than ever. The basic principle hasn’t changed: match the tool to the coat and use it gently.
How Do You Know When Slicker Brushing Is Finished?
Stop when the coat feels separated, loose hair has noticeably decreased, and your checking comb moves comfortably through the section. Don’t chase a completely hair-free brush.
Dogs naturally continue releasing hair. Finding another few strands doesn’t mean the skin needs another twenty strokes.
- The brush moves through without repeated catching.
- The coat looks separated rather than packed together.
- A comb passes through the finished area comfortably.
- The skin remains normal without increasing redness.
- Your dog remains relaxed enough to continue willingly.
VCA Animal Hospitals also describes slickers as useful for lifting dead hair or undercoat and helping untangle mats and snarls in suitable coats.
If you’re ready to choose a slicker, these are three practical styles I’d consider for different priorities:
🏆 Best for Long & Curly Coats
Chris Christensen Big G Slicker Brush
★★★★½
The Big G uses long 27 mm stainless-steel pins, a flexible cushion, and a curved head for dense or longer coats. I like this style when standard short pins keep skating over curly or thick hair.
💰 Best Value Self-Cleaning
Hertzko Self-Cleaning Slicker Brush
★★★★☆
The retractable-pin design makes collected fur easier to clear between passes. I see it as a convenient choice for routine brushing where fast cleanup matters more than maximum reach into a heavy double coat.
🐕 Best Everyday Option
Safari Self-Cleaning Slicker Brush
★★★★½
Safari combines stainless-steel slicker pins with a self-cleaning mechanism and multiple size options. I like the straightforward design for owners who want an everyday brush that’s easy to empty during a longer grooming session.
Frequently Asked Questions
Does a slicker brush cut a dog’s hair?
No. A normal slicker brush uses wire pins rather than cutting blades, so its main job is separating hair and collecting loose coat. Rough technique can still break hairs or irritate skin, which is why gentle pressure and the correct pin length matter.
Can you use a slicker brush every day?
Some dogs can tolerate gentle daily slicker brushing, especially when their coats tangle quickly. Frequency should match the coat and the dog’s comfort. Avoid repeatedly brushing the same skin simply because loose hairs continue appearing.
Is a slicker brush good for shedding?
Yes. Slickers can capture loose dead hair, especially from medium, long, curly, or dense coats. During a heavy double-coat shed, an undercoat rake may remove deeper loose fur more efficiently before a slicker finishes the coat.
Should you use a slicker brush on wet or dry fur?
For routine home grooming, I prefer using a slicker on dry or appropriately prepared coat unless the brush maker or groomer recommends another technique. Wet tangles can behave differently, and pulling hard through soaked hair can make grooming uncomfortable.
Why does my dog hate the slicker brush?
Your dog may dislike the sensation because the pins are pressing too hard, catching tangles, or repeatedly touching sensitive skin. Try lighter pressure, smaller sections, shorter sessions, and rewards. Persistent pain, skin problems, or severe matting deserves professional attention.
Final Takeaway: Let the Pins Do the Work
A slicker brush works because dozens of fine angled pins separate hair and lift loose coat at the same time. Used correctly, it can make routine grooming faster while helping prevent small tangles from becoming larger mats.
The key isn’t force. Choose a slicker with the right pin length, work in small sections, and stop whenever the brush meets resistance or your dog becomes uncomfortable.
Start with one short grooming session and pay attention to how the coat responds. A gentle technique will usually tell you more than pressing harder ever will.

Thomas Cutter is a lifelong dog owner and the founder of FindOutAboutDogs.com. With over 10 years of hands-on experience owning multiple breeds, Thomas created this site to provide honest, research-based dog advice that real owners can actually trust.
